
 001.Autocad Blocks
  1.Furniture
 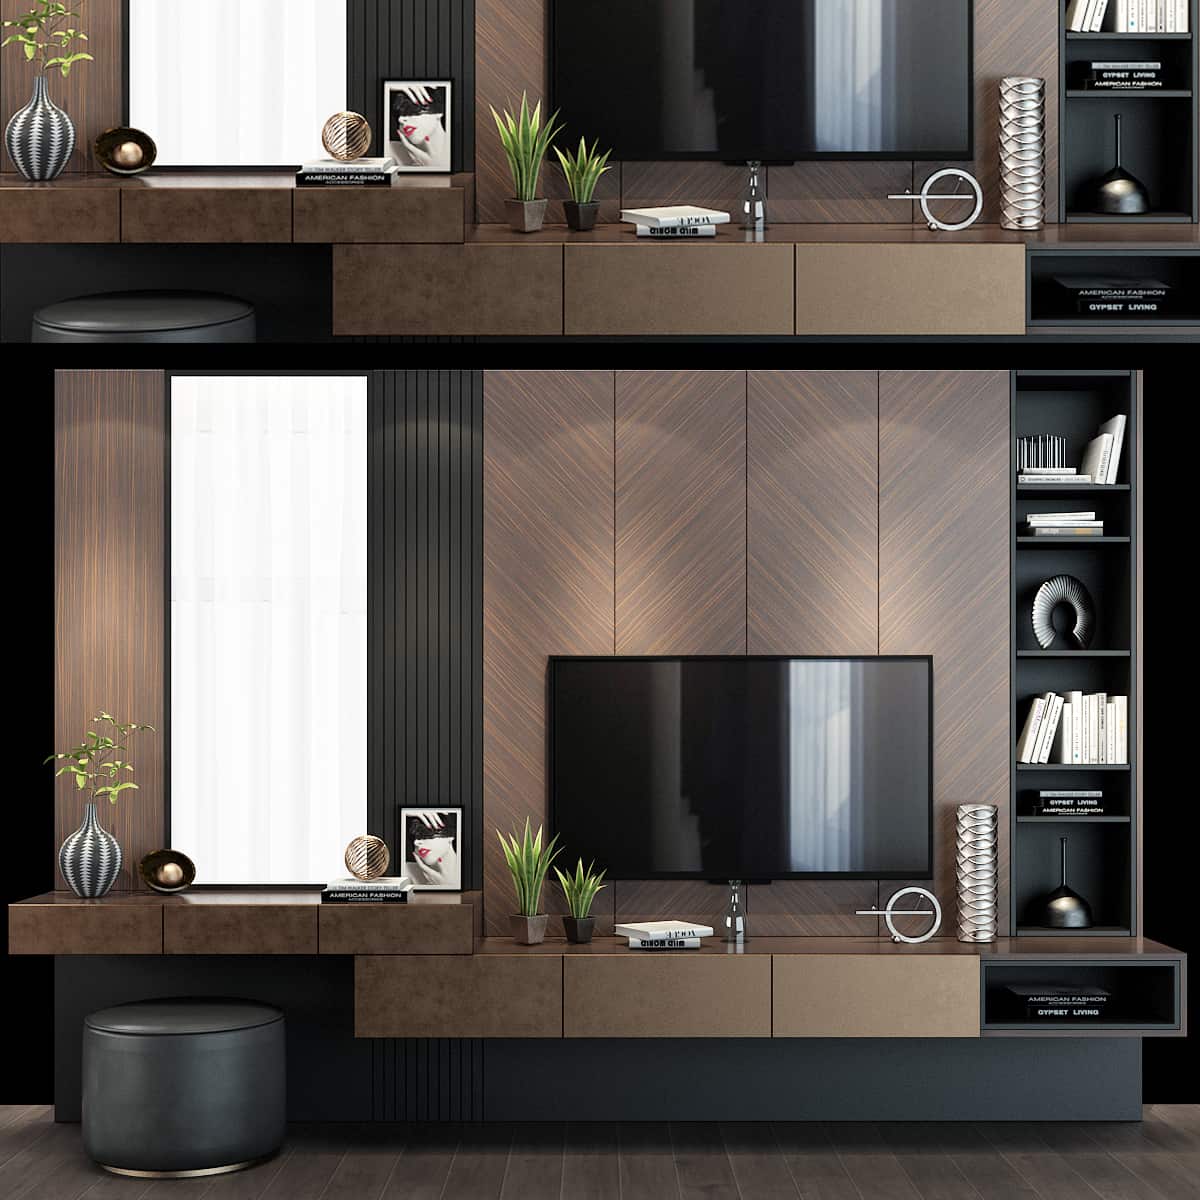 TV Wall
 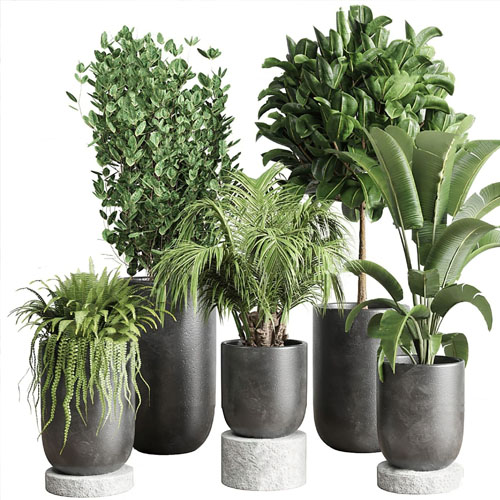 2.Decoration
  1.Plants
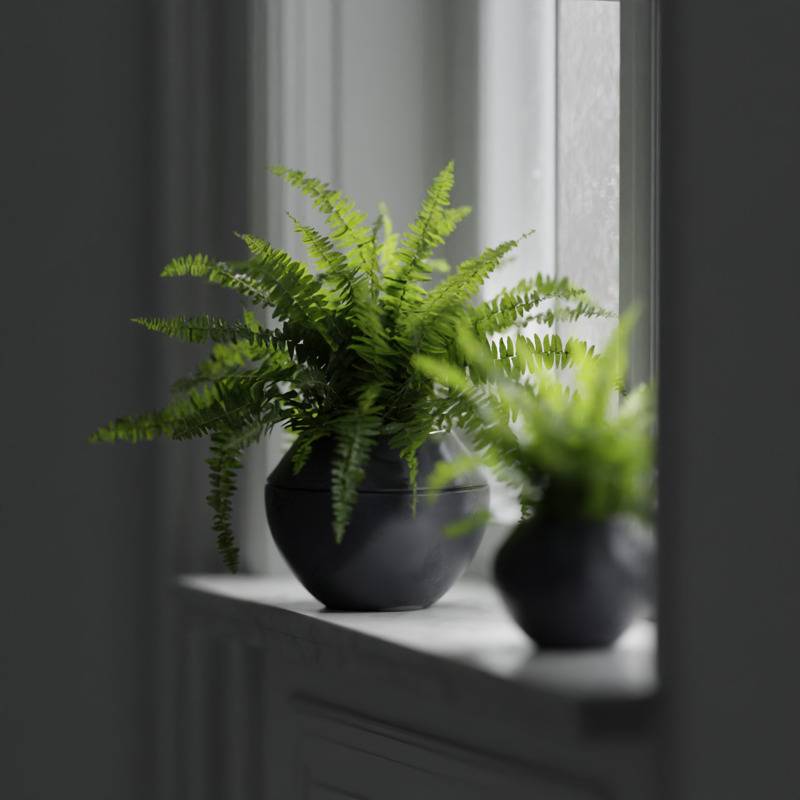
  2.Vase
  3.Animal
 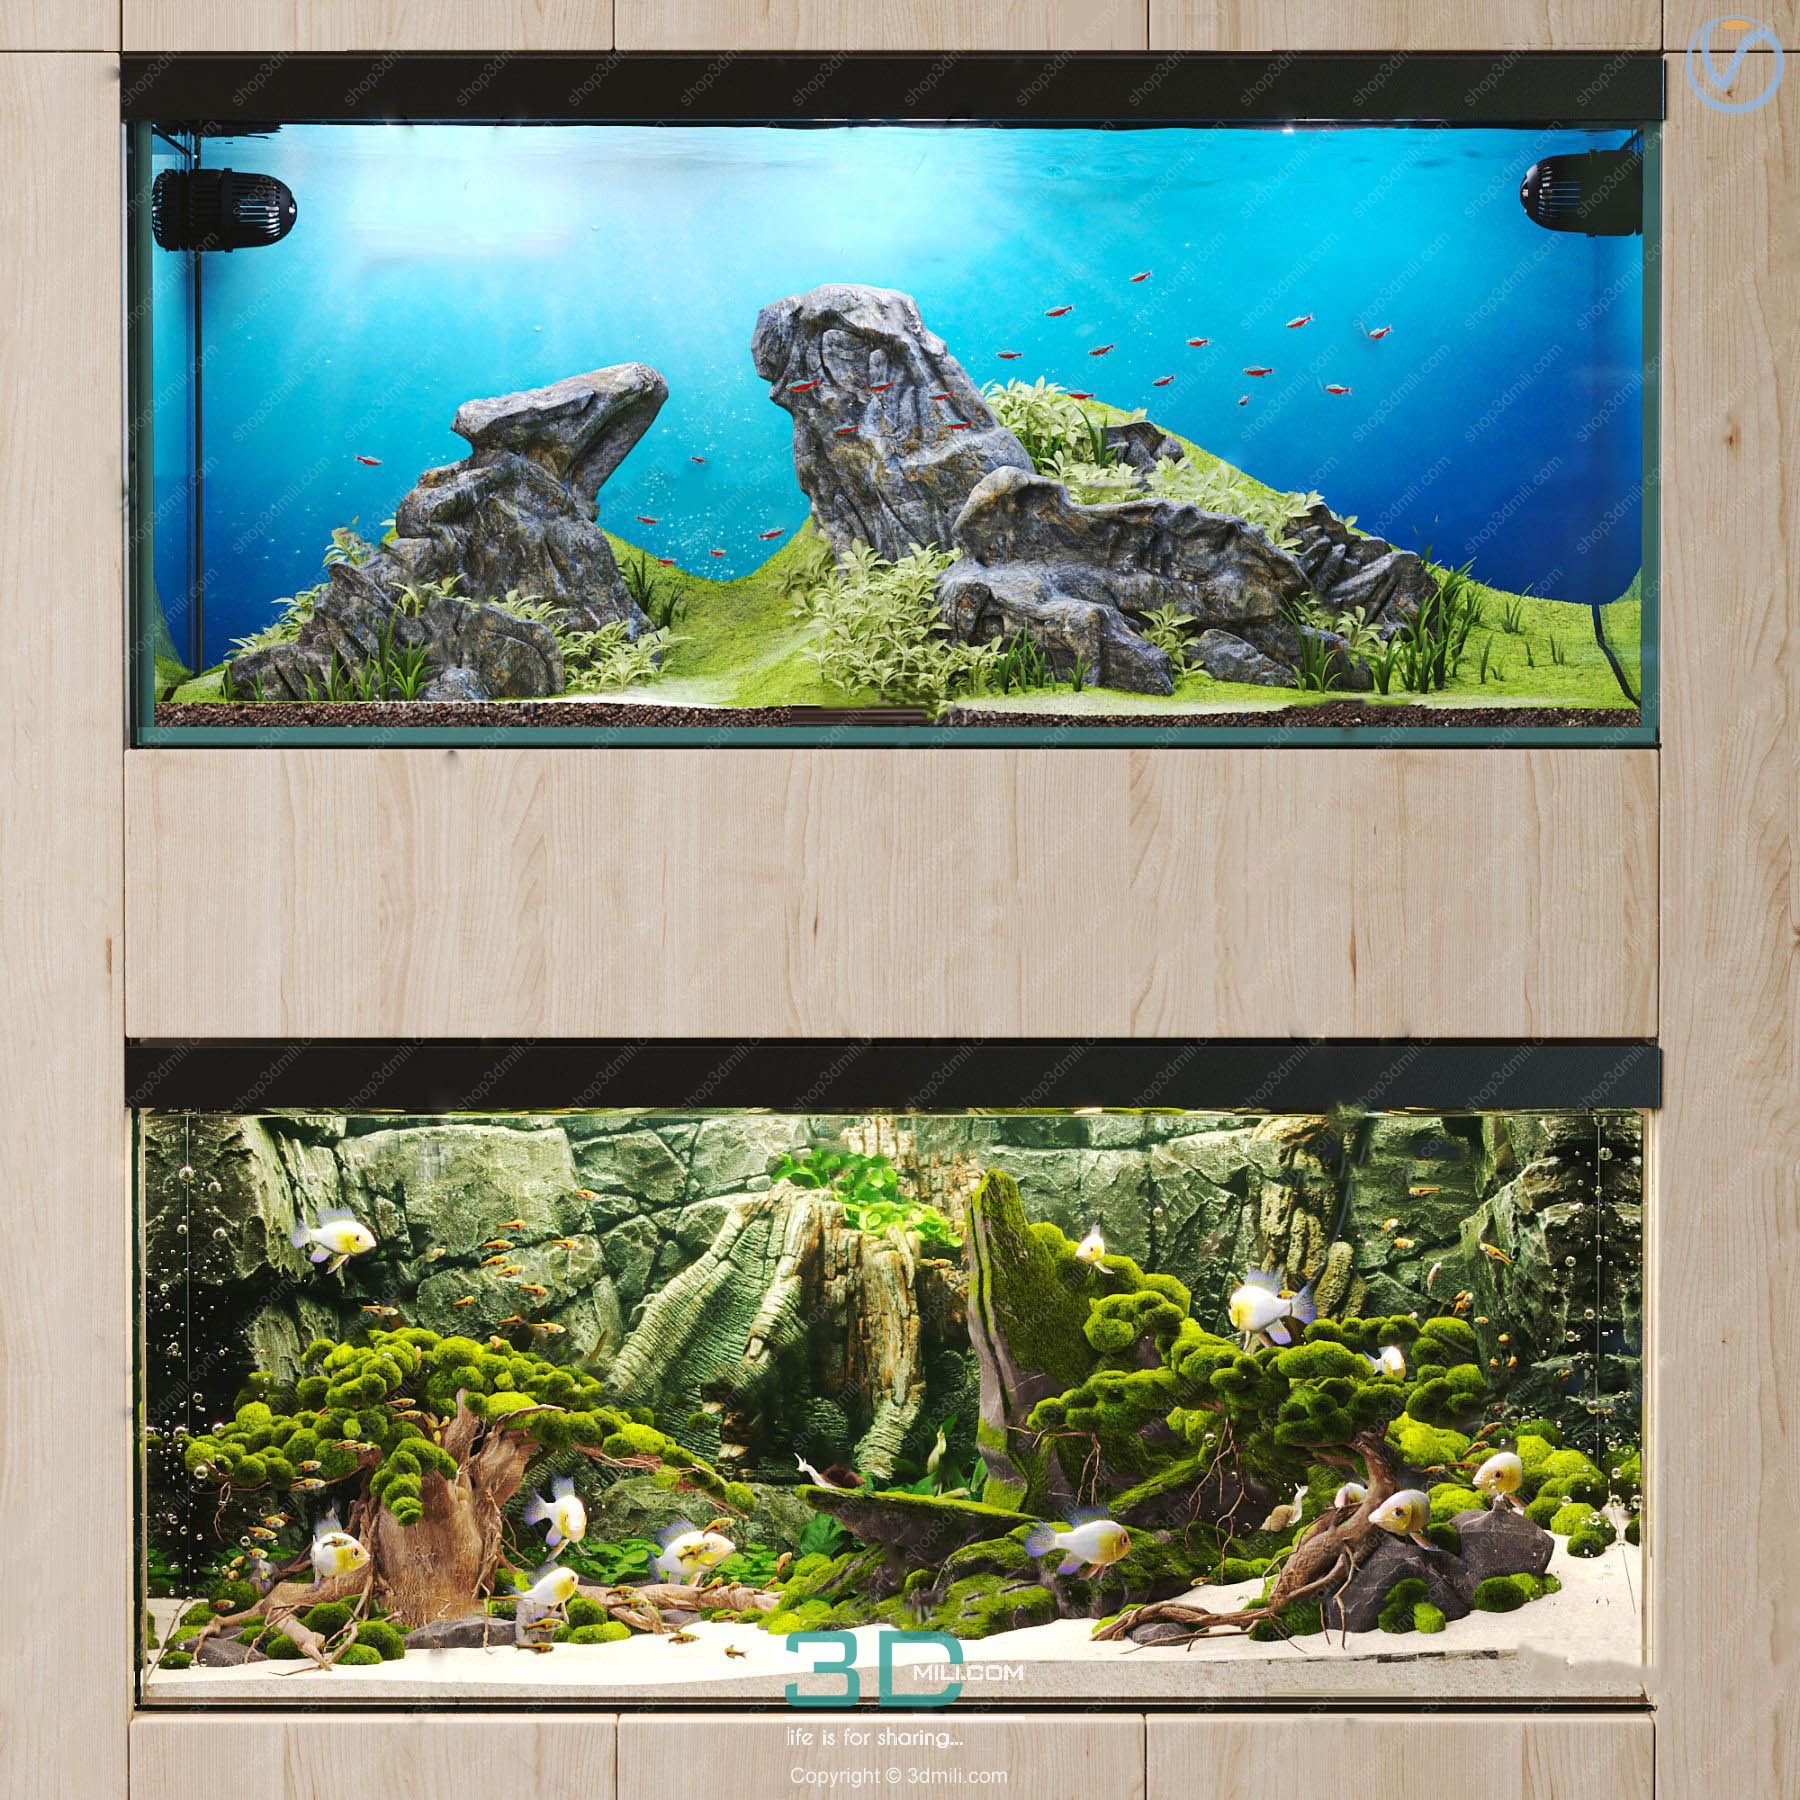 Aquarium
  Car – Bike
 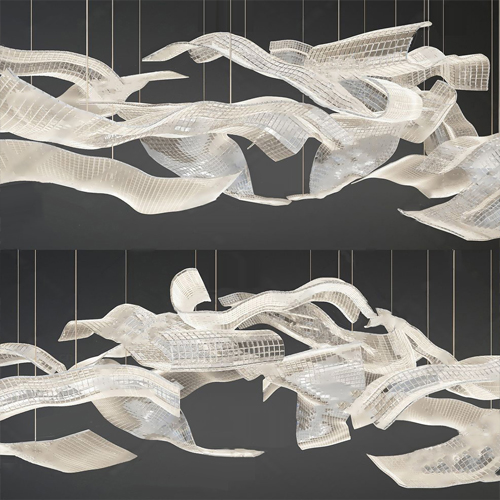 3.Lighting
  Wall light
  3dsky Model PRO
  Architecture
  Miniature Garden
 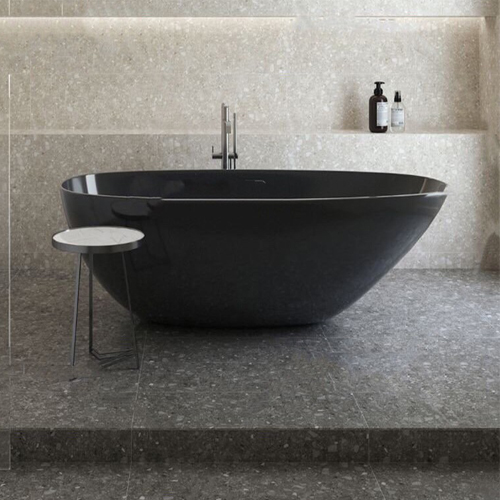 Bathroom
  Childroom
  Evermotion Archexteriors
  FREE
FREE 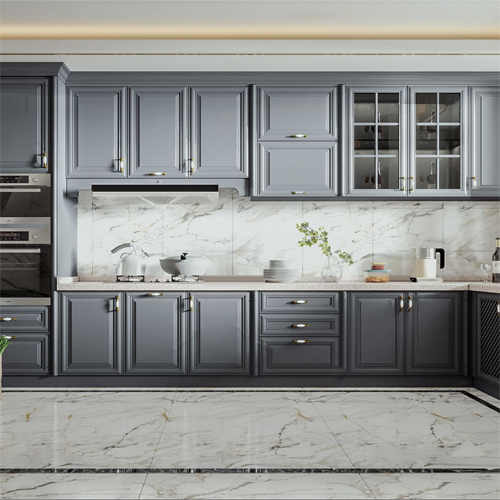 Kitchen
  Materials
 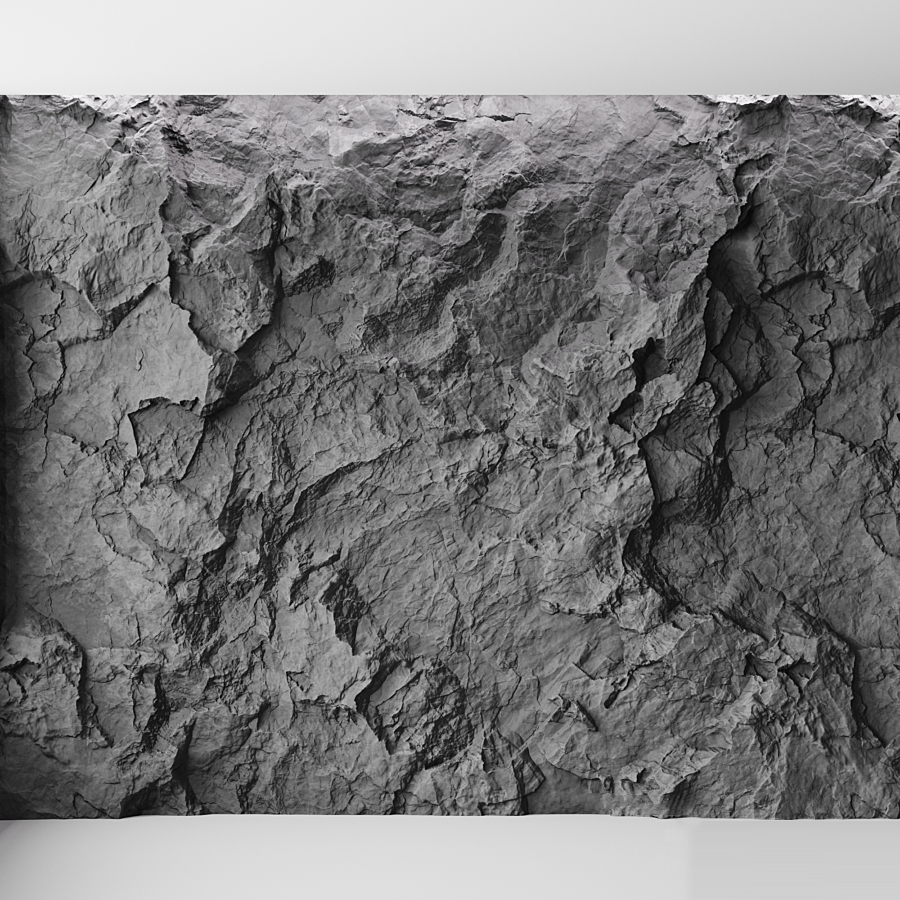 Stone
Stone  Tile
Tile  OFFICE FURNITURE
  Sketchup
 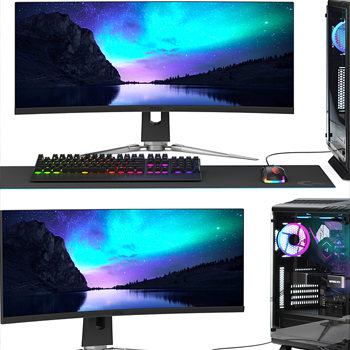 Technology
  Textures
  Vip
Vip  Photoshop
  Plugin
  Software


[FLASH SUMMER – 2026]
.
NEW ALBUM: BEDROOM 2026
Hello friends,
Recently, when working with 3dsMax, there are often viruses (CRP, ADSL, ALC) and garbage scripts a lot in the scene. This causes a lot of inconvenient errors that people will encounter such as:
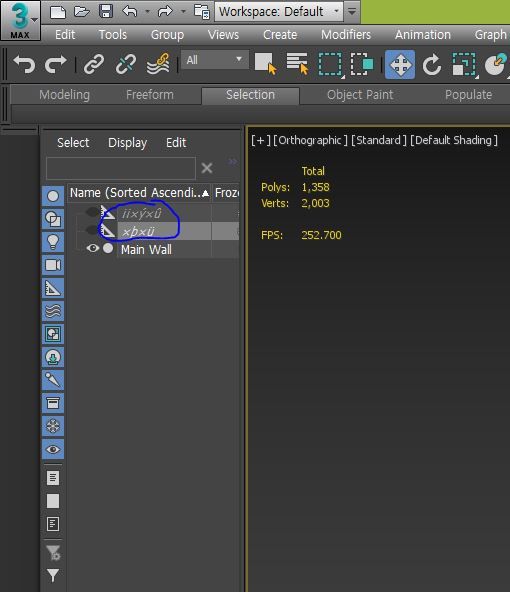
Portraits of those nasty viruses here:

You should download the script Prunce Scene from the following link: https://3dground.net/prod/prune-scene-2180817
and install into 3dsMax.
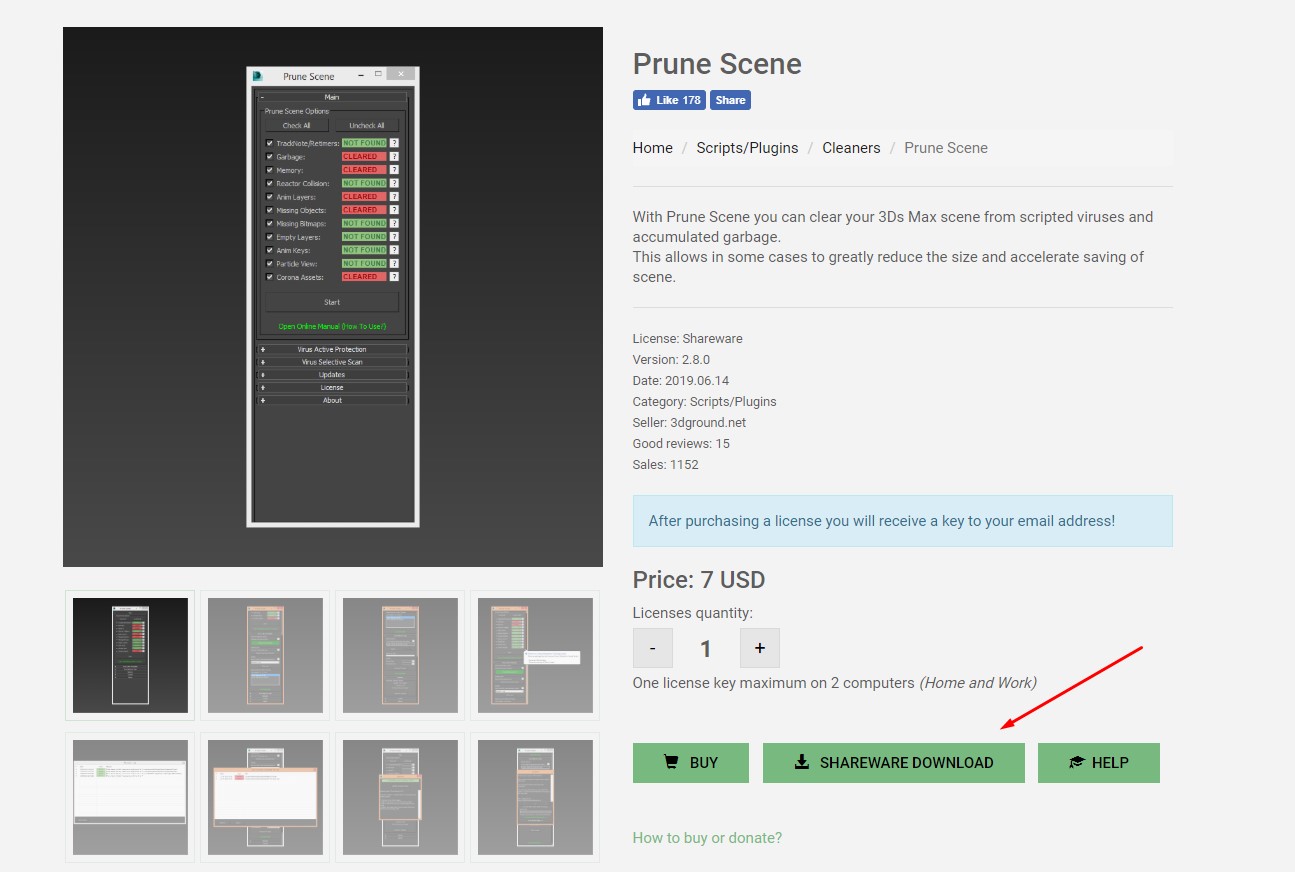
You can download it for free to use, but if you have a good financial condition, you should buy support so that the author has more motivation to develop more optimized software (the price is also very soft, only about 3 cups). Pho plus egg rolls and iced tea).
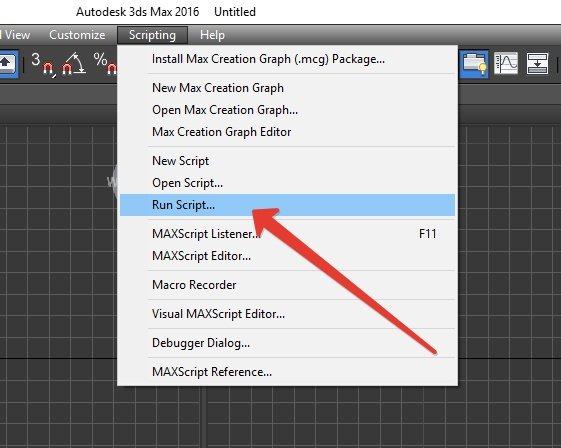
B1: Select Run Script… point to the location of the path where you downloaded Prunce Scene to your computer
B2: Tick select “I accept…”, click Next

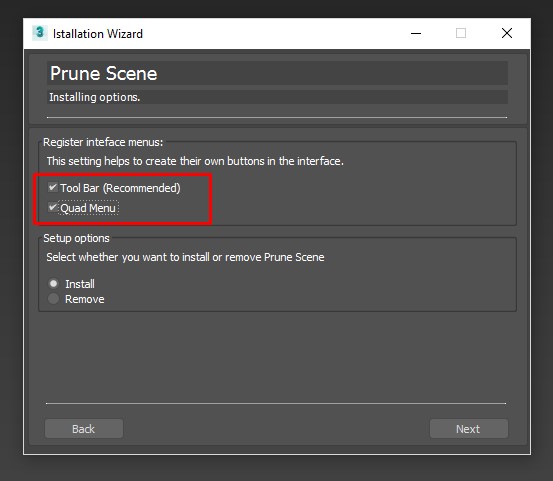
B3: Tick select settings to display Prune Scene in both Tool bar and Quad Menu, click Next
B4: Wait for the automatic installation process
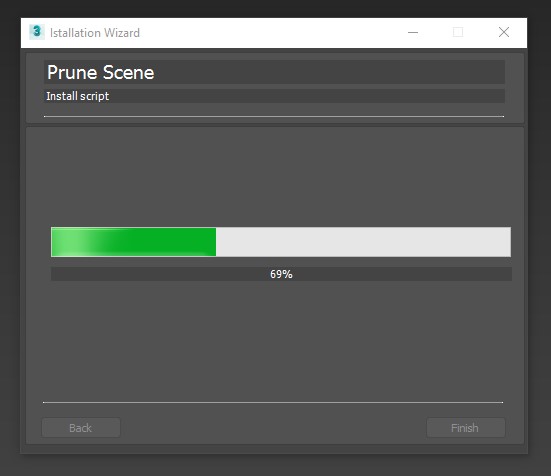
Upon successful installation, you will receive a message like this:
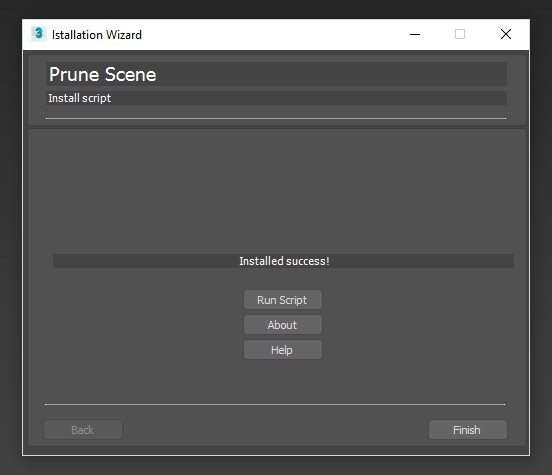
Click Finish, you will see the Prune Scene appear right in 3dsMax:
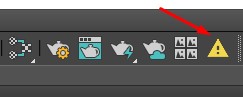
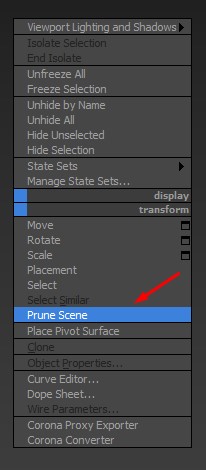
B1: Open the 3dsMax file you need to work on, tick the Prune Scene icon to run this script. Select the Check All item.
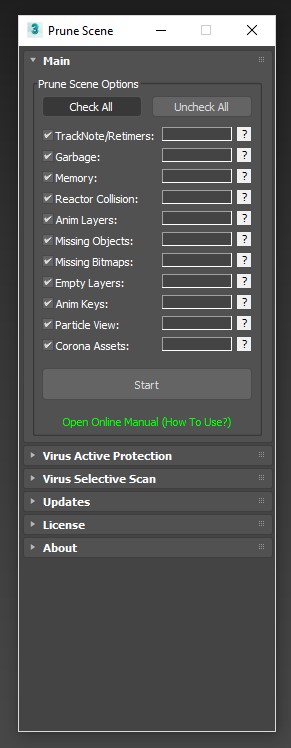
B2: Remember to save a Backup file before running the script (be more careful – as recommended by the author).
Select Start, the script will scan the scene once and issue this dangerous red message. Click Start again to have it clean up this mess.

B3: After the cleaning is complete, you will receive a green notice board like this, you can rest assured to continue working:

But this is only part of cleaning up junk files for a lighter scene, the good part will come soon with the antivirus function in 3dsMax. You notice the line Virus Active Protection, by default it is not started. You should enable it by clicking on the line ” PROTECTION DISABLED “.

After activation, the following message will appear:
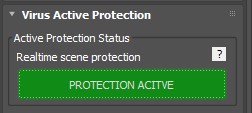
You should always scan the scene for viruses by clicking on the line below
The good news, if there is no virus, a message like this will appear, you are safe to continue working:

And if the bad news, your scene is infected with a virus, it will immediately notify you and you will have the option to delete it.
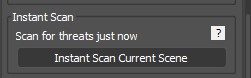
That is in case the file is working, and you want to scan the file before opening, this script also has that option. You just need to choose the exact path to the file you want to scan and then do it, everything will be completely automatic.

That’s it, the usage is completely simple, your files will be protected and optimized. But according to the experience of 3D Tips, you should still install another anti-virus tool developed by Autodesk for 3dsMax, with this one, but the perfect match is even better. Your file is now invincible, fearing that customers won’t pay.
Please download here: Security Tools for Autodesk® 3ds Max® 2019-2015

Install as usual, then go to 3dsMax and enable it here:
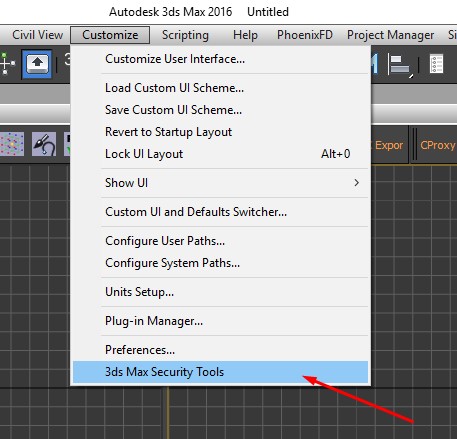
Remember to tick the Enable Protection option. Done OK. Now opening any file will be censored

Voilà, that’s it for real. The article is a bit long, but after I finish it, I think you will find it very useful for my work.