
 001.Autocad Blocks
 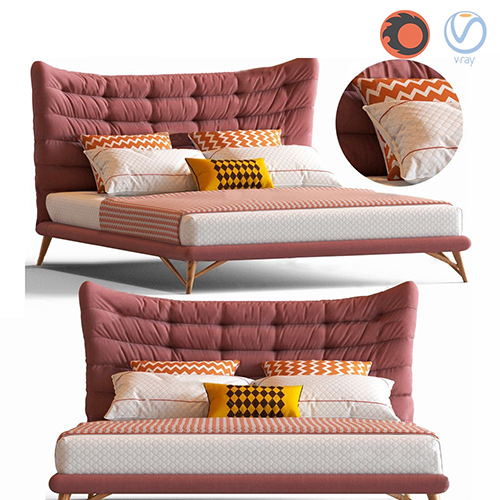 1.Furniture
  Arm chair
 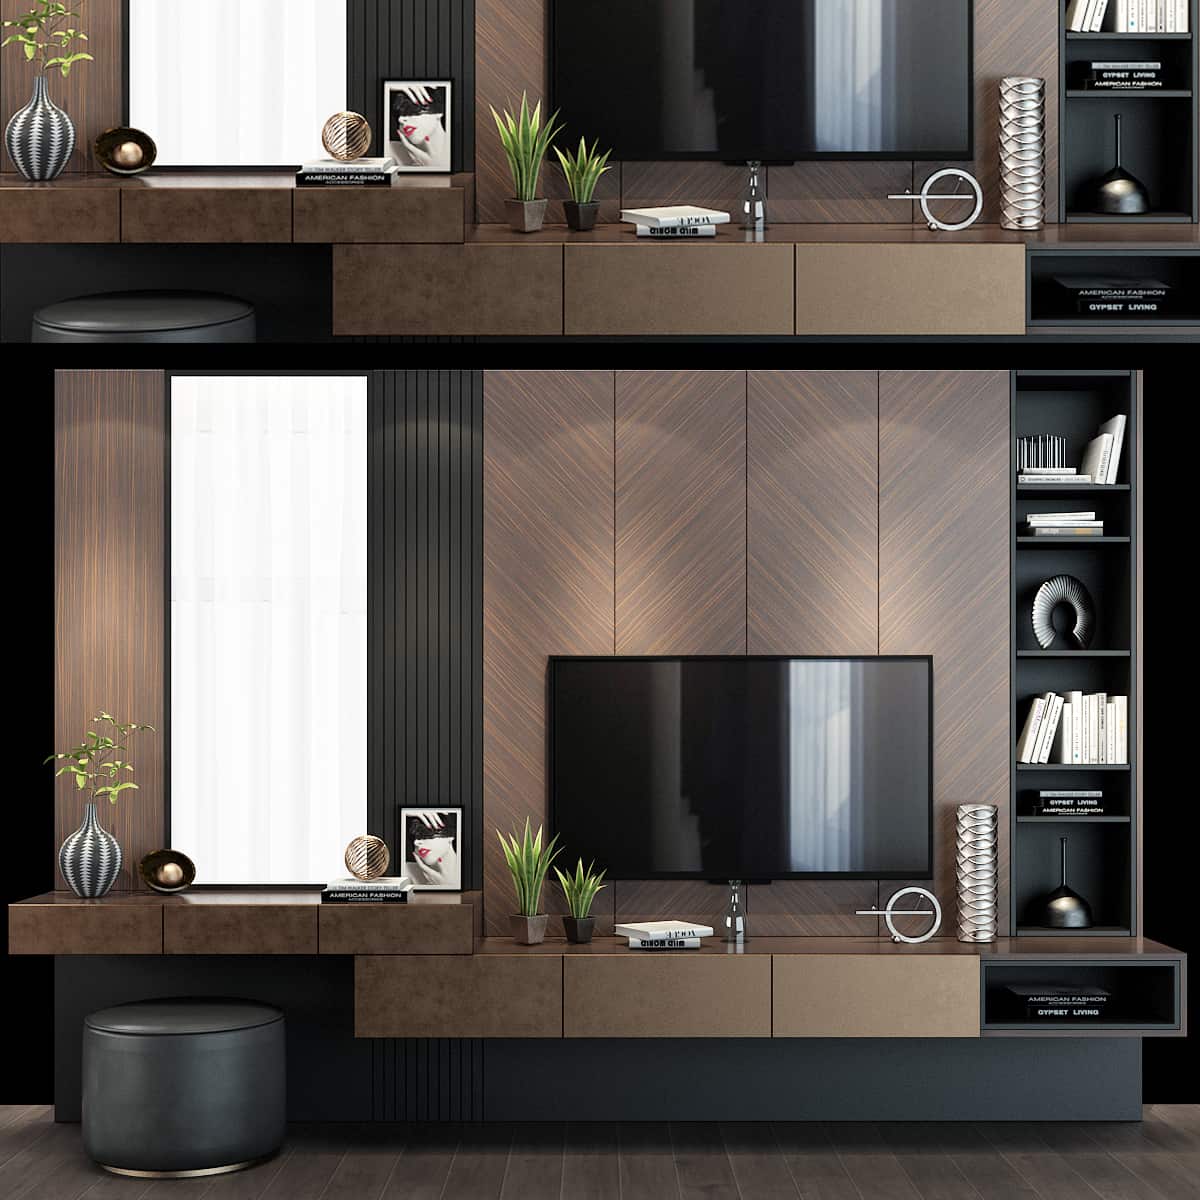 TV Wall
 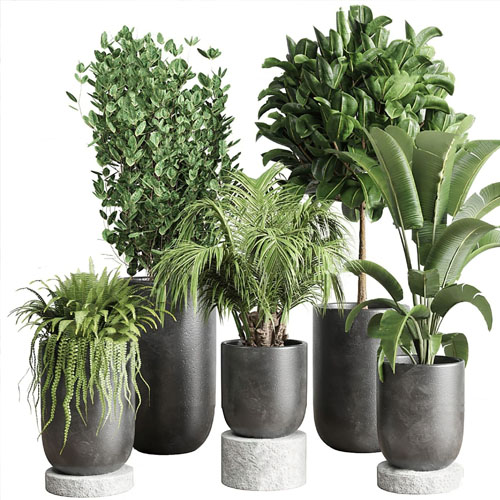 2.Decoration
  1.Plants
  2.Vase
 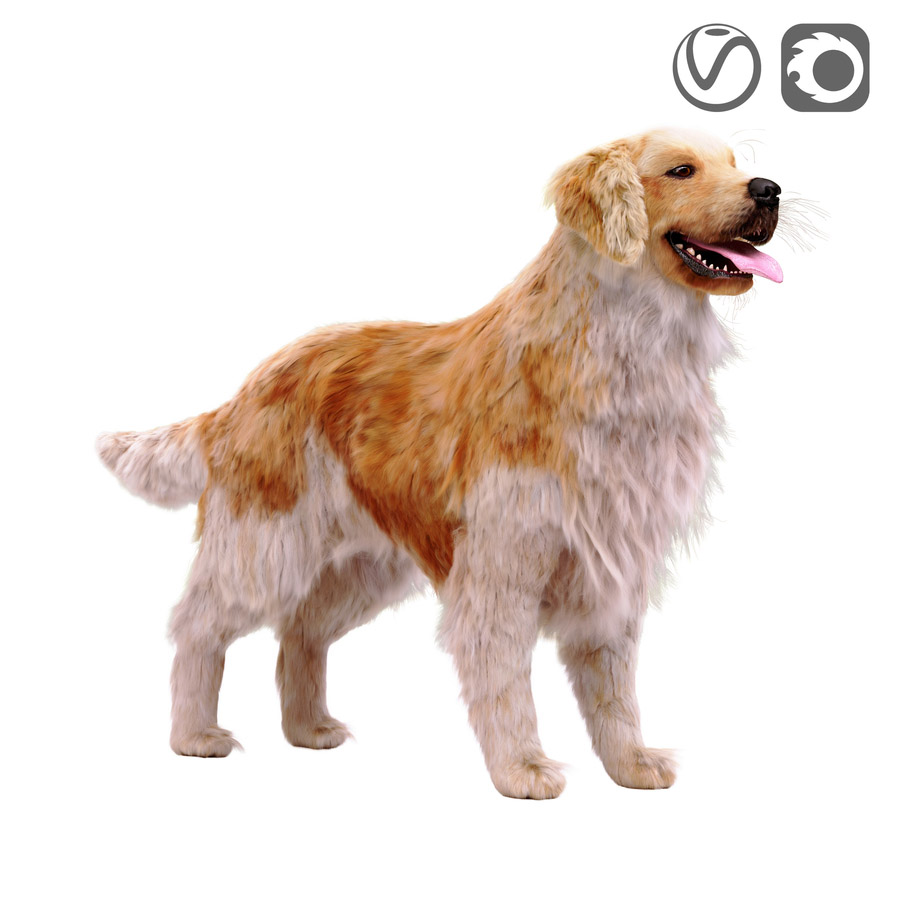 3.Animal
 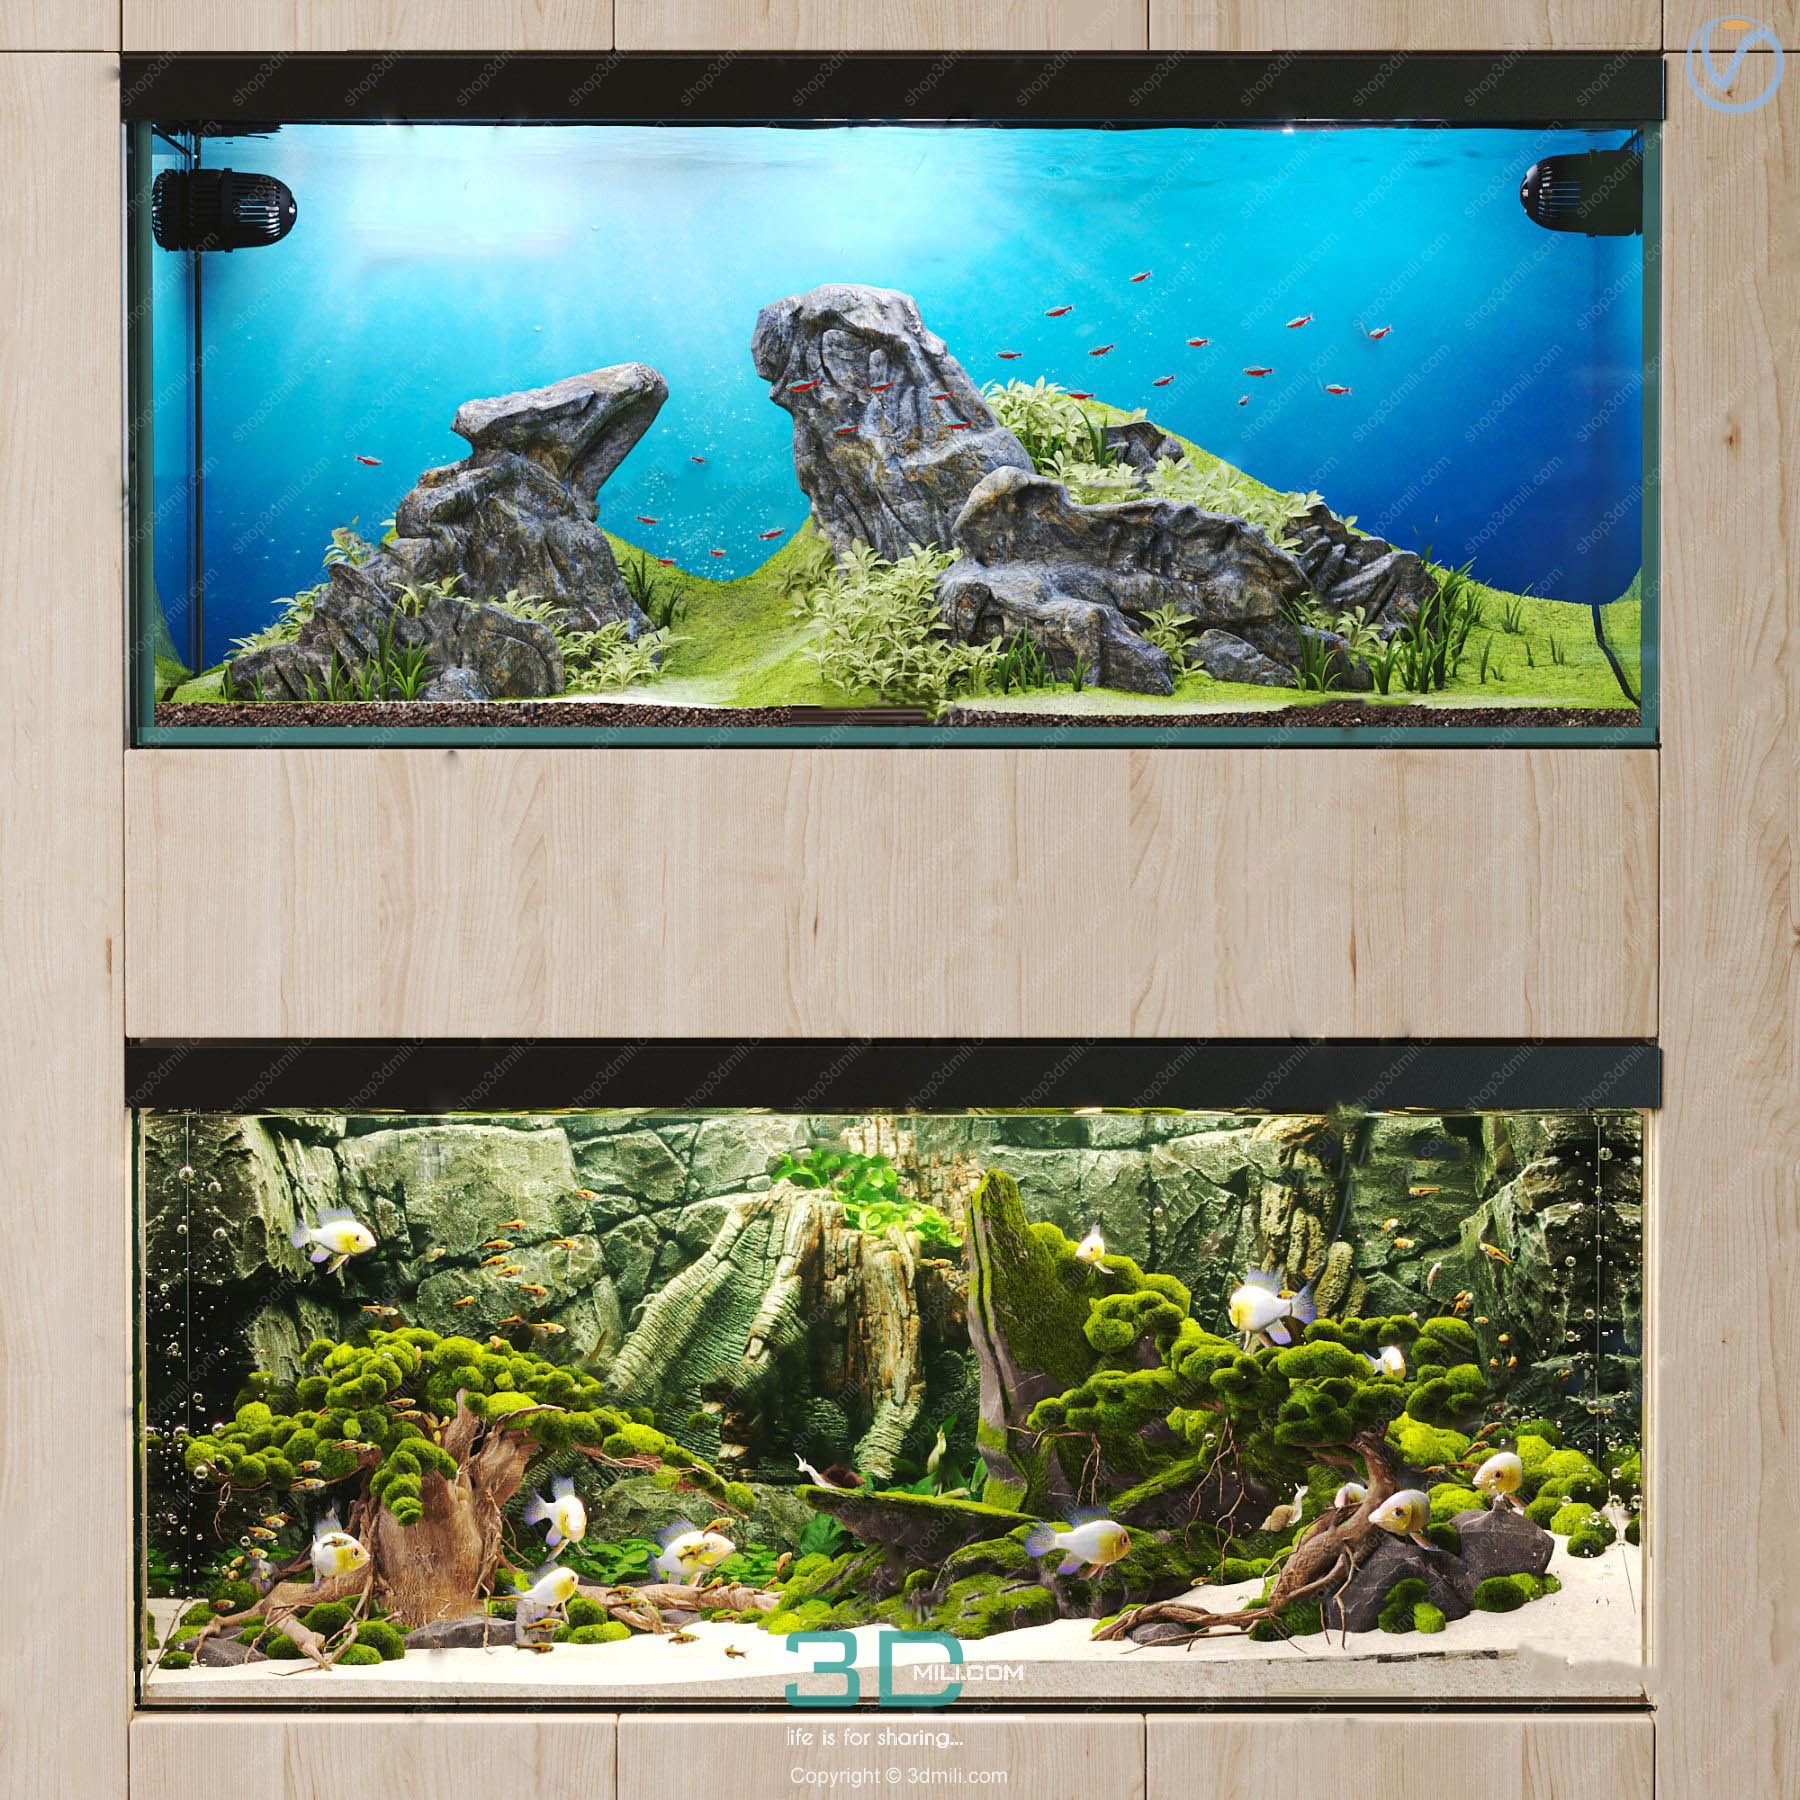 Aquarium
  Car – Bike
 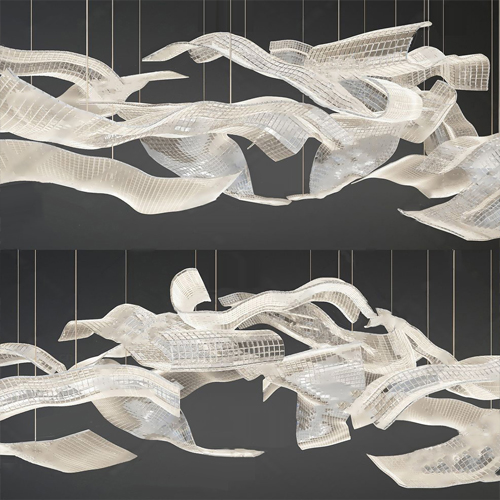 3.Lighting
 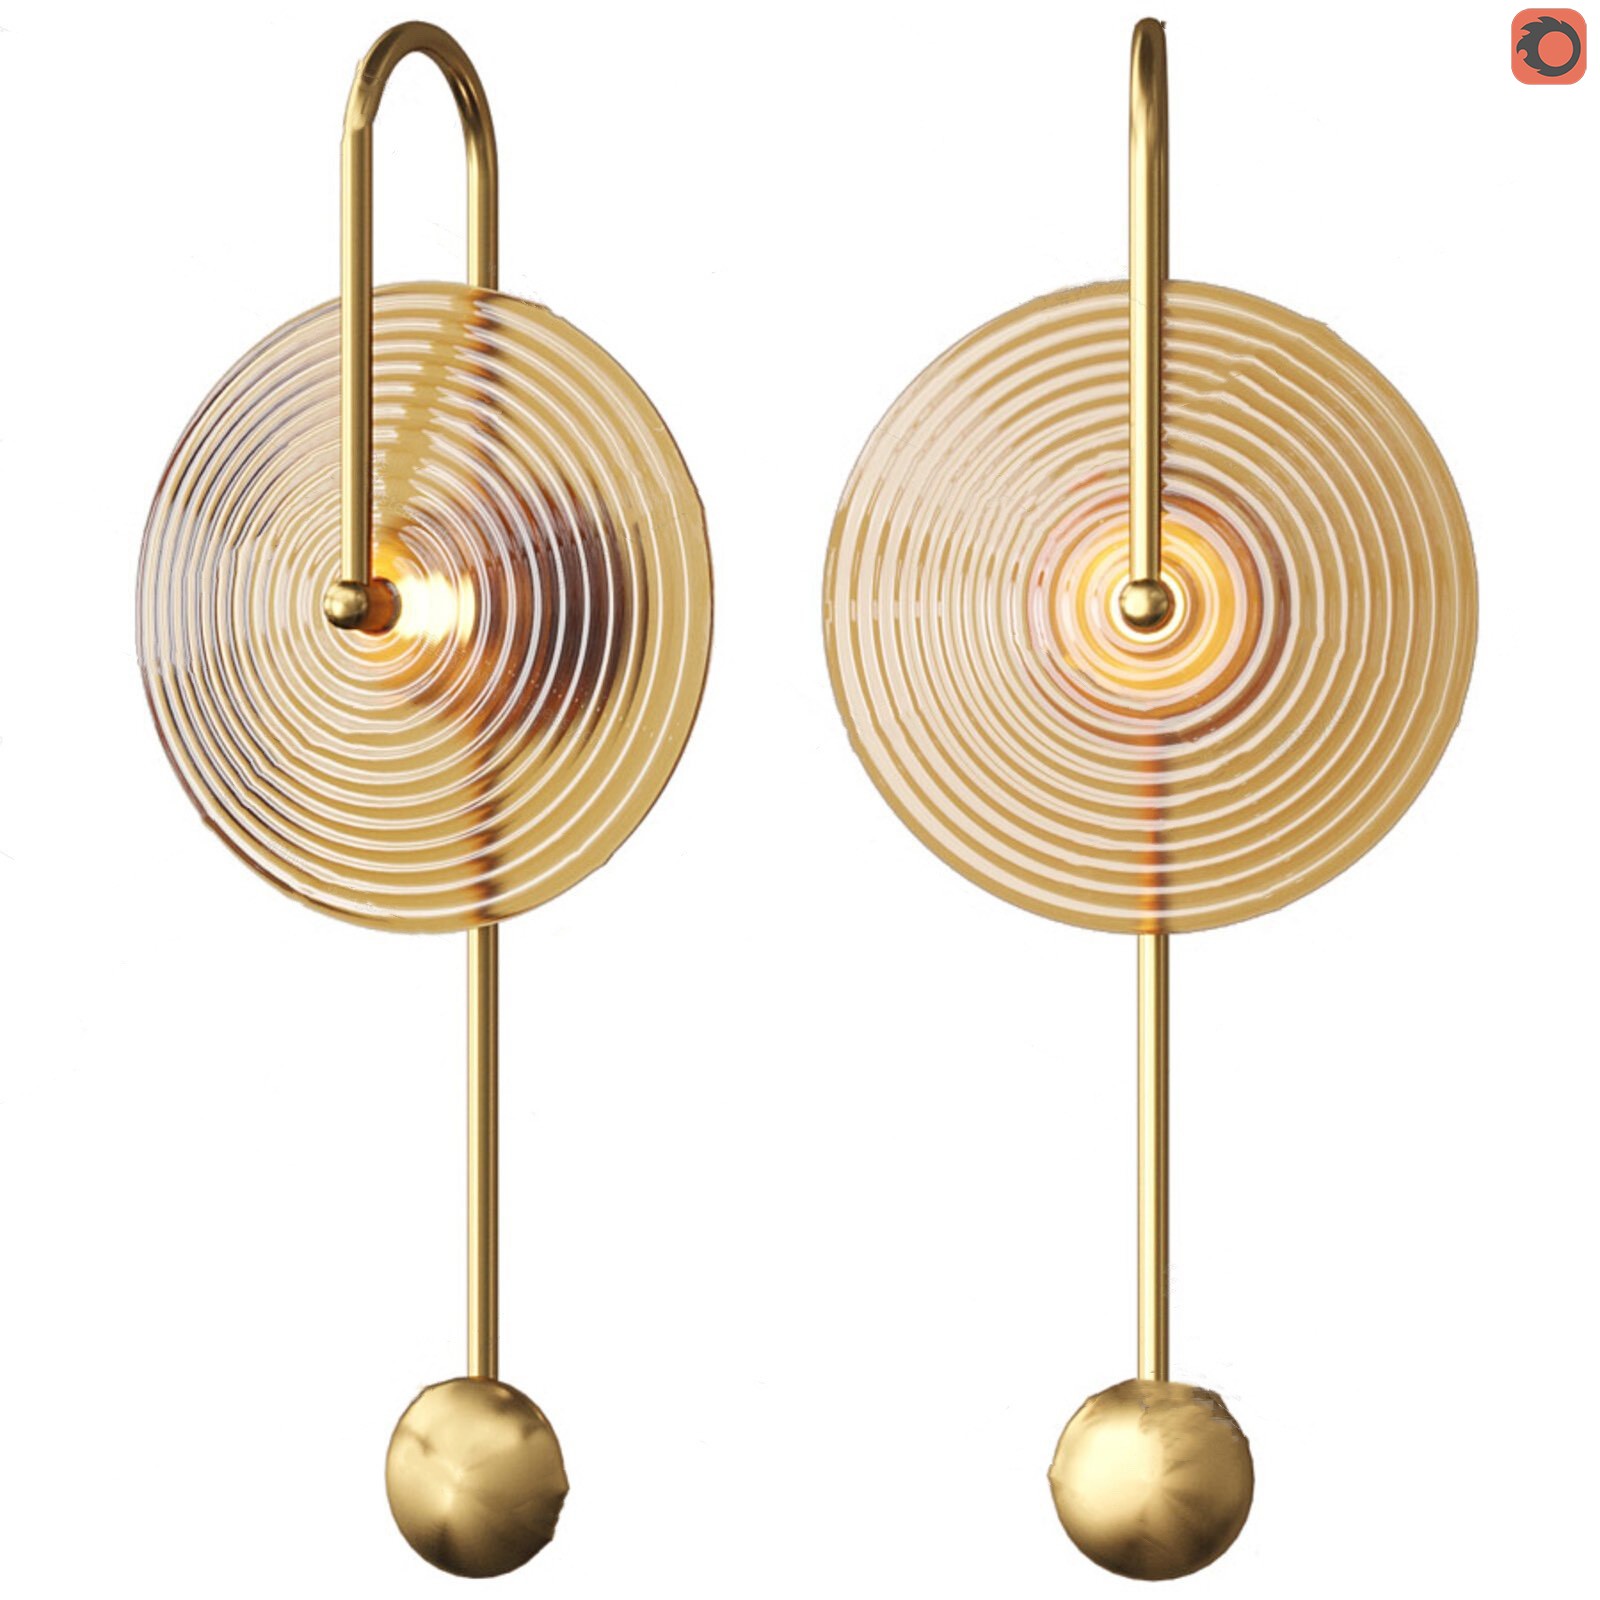 Wall light
  3dsky Model PRO
  Architecture
  Miniature Garden
  Bathroom
  Childroom
  Evermotion Archexteriors
  FREE
FREE  Kitchen
  Materials
  Stone
Stone  Tile
Tile  OFFICE FURNITURE
  Sketchup
  Technology
  Textures
  Vip
Vip  3ds Max
  Photoshop
  Plugin
  Software














[FLASH SUMMER – 2026]
.

CODE : 3DMILI30
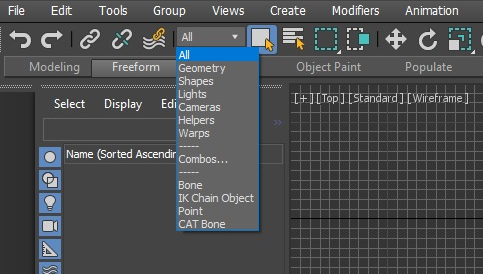
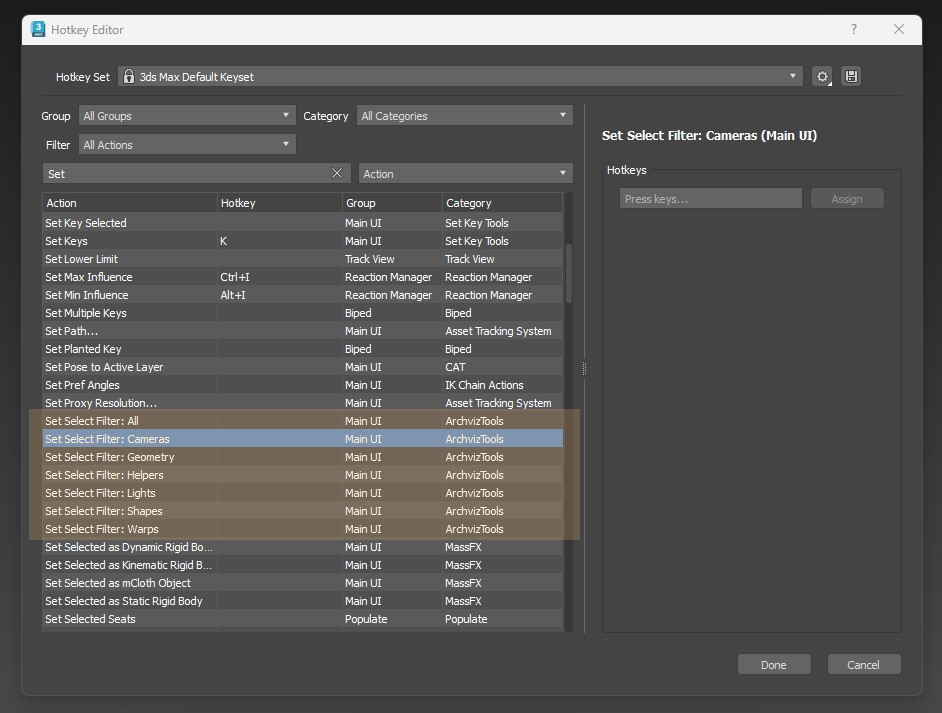
When working on projects with many objects, you often need to switch between different Selection Filters to easily target the right category of objects — for example, selecting only Geometry, or only Lights. The problem is that this action is normally only accessible through the mouse, via a dropdown on the toolbar, which is inconvenient and breaks your workflow if you need to do it repeatedly.
3ds Max doesn’t natively support assigning hotkeys to switch the Selection Filter. To work around this, you can use a custom MAXScript that creates individual commands for each filter type, then bind hotkeys to those commands using the software’s built-in Hotkey Editor.
Once set up, you can switch filters instantly with a single keypress, making your modeling workflow noticeably smoother and faster.